| 
 Installation and Use of the FBA Profiler Software 
 Installation: 
 If the FBA Pro software package was downloaded from the web site, your web browser probably un-stuffed the file and created the appropriate FBA Pro installer (for Mac or Windows) on your hard drive. Whether installing from the downloaded installer or from the CD-ROM, simply open the installer and follow the on-screen instructions. 


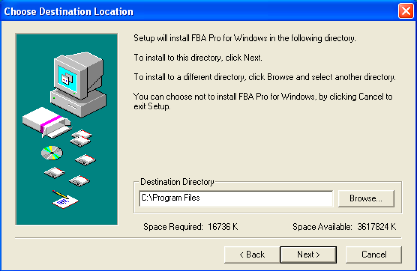
           During installation, by default
          the FBA Pro package is placed either in the 'Program Files' directory (Windows)
          or in your main hard drive directory (Macintosh) unless you select a different
          location.


           An 'alias' or 'shortcut' is also
          created on your Windows desktop or Macintosh Dock for easy access to the FBA
          Pro application.


           Important: Always be sure that all
          files related to the FBA Pro scoring application remain inside the FBA Pro
          folder/directory where they first exist.  If these files are moved, the scoring program and/or registration codes
          may not function properly.


           Using the FBA Pro:


           To begin using any of the FBA Pro
          materials (scoring file, forms, manual, instructions, etc.) simply double-click
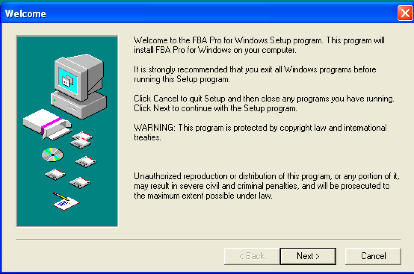
          the FBA Pro application or the desktop shortcut (or alias).  If you are opening a demonstration
          version of the application, you will first be presented a popup message
          describing the limitations of that version along with options for upgrading
          your registration.


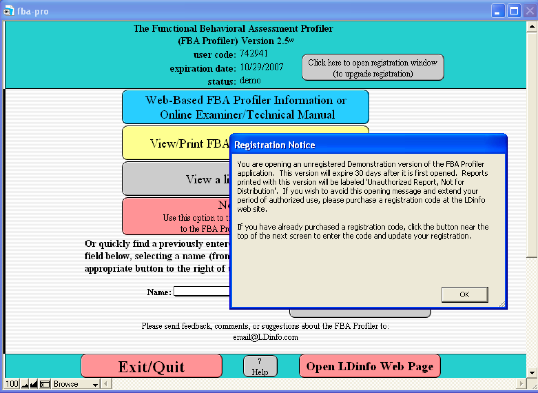
           Simply click “OK” in the
          “Registration Notice” window in order to proceed to the actual
          application.  


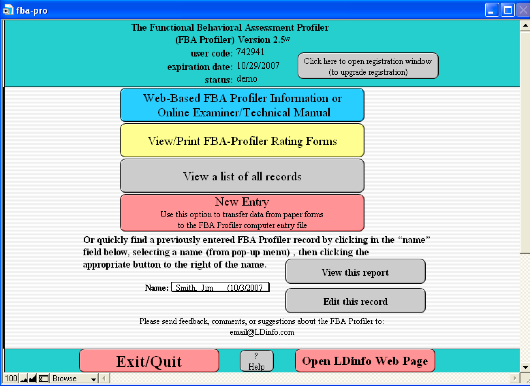
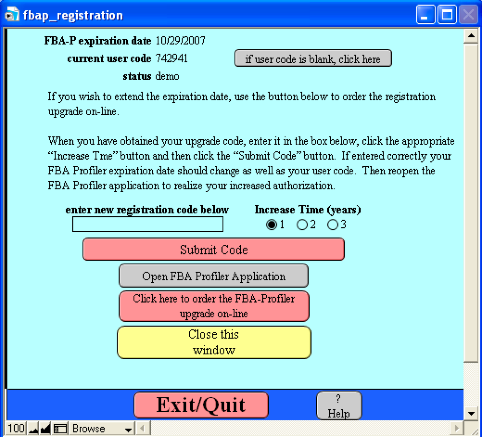
           If you have purchased a
          registration code, click the button near the top of the next screen (shown
          below) to enter the code and register the software.


           This will open a separate
          registration window where you can enter your registration code.


           After submitting a valid
          registration code, you will be presented a “Thank You” message.  Simply click “OK” on that message and
          the software will reopen to complete the registration process.


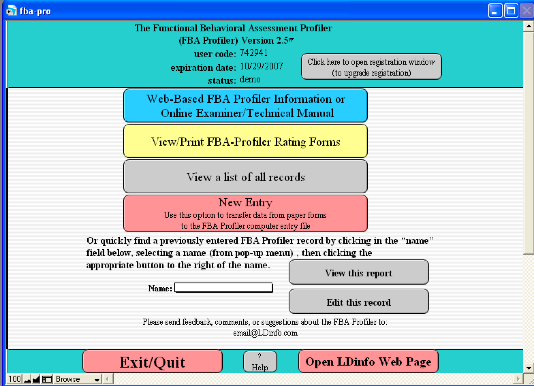
           If you are using a registered
          version of the FBA Pro, the application will open directly to the screen which
          gives various options including viewing/printing forms, starting a new entry or
          viewing a list of existing entries.


           If you are wishing to view or edit
          an existing entry you can simply select the name of the subject from the
          drop-down list and click the appropriate button to the right of the name.


           Completing an entry on a new
          subject is accomplished in 4 easy steps as follows:


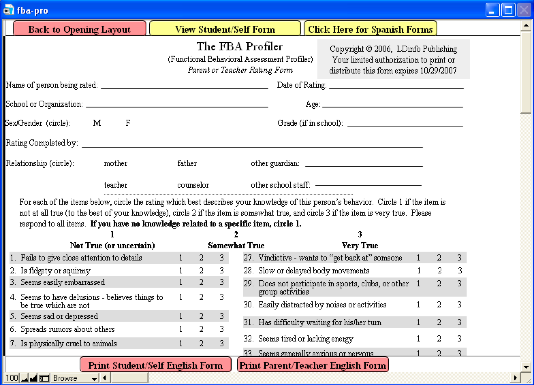
           Step 1: From the opening screen
          click the button entitled 'View/Print FBA Profiler Rating Forms'. A new window
          will open in which you can preview and/or print the various paper rating forms.
          You may either print 1 copy of each form and then duplicate them as needed or
          just print new forms as you need them. In either case, the printed forms will
          note the expiration date for you to legally print or duplicate the forms (based
          upon your registration status).


           Step 2: Distribute FBA Pro rating
          forms to parents, teachers, and/or subjects and collect the completed forms for
          scoring.


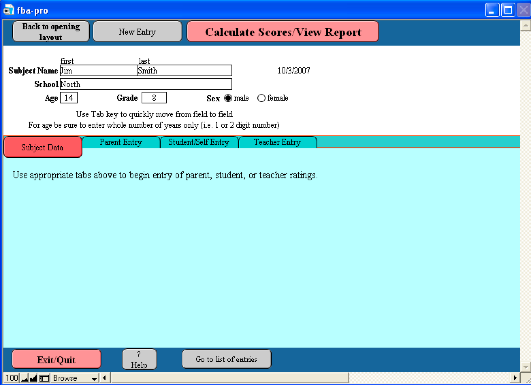
           Step 3: To score completed FBA Pro
          forms, simply open the FBA Pro Pro application and click the 'New Entry'
          button.


           A new window will open which
          allows entry of subject information including name, age, grade, school, etc. Be
          sure to enter an age in whole years (no dashes, decimal points, months, etc.)
          and sex so that the norm-referenced scores can be accurately calculated.


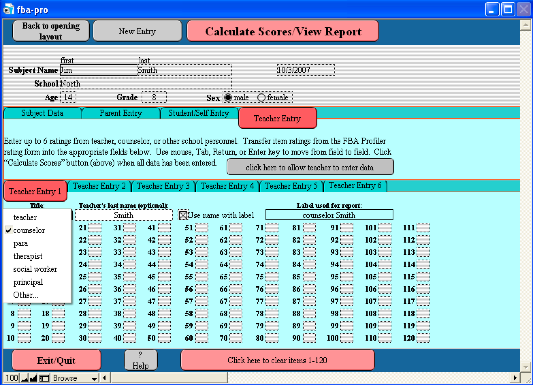
           Then select the appropriate button
          below that section to begin entering actual rating data (from parent, teacher,
          or self-ratings).


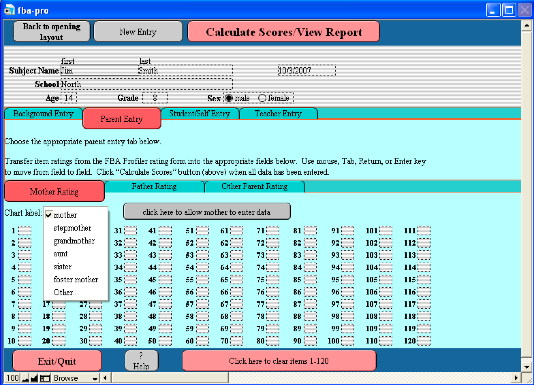
           For each parent entry you may select
          from a list of parent/guardian types to be used as the label in the
          interpretive chart and descriptions.  The teacher entry screens also allow you to designate specific school
          staff labels as well as the teacher’s last name along with the option to combine
          the name with the label (i.e. “teacher Smith”) for use in the
          computer-generated charts and text interpretation.


           You may enter multiple ratings for
          each subject (i.e. parent, teacher, and/or student/self ratings) in order to
          directly compare results on the graphic display provided in the report.  There is also a button on each entry
          screen which opens an alternate layout allowing teachers, parents, or students
          to directly enter ratings onto your computer.


           Step 4: When available ratings have
          been entered, simply click the 'Calculate Scores/View Report' button at the top
          of the window. A new window will open in which you can preview graphic displays
          of each rating category, combine or separate parent or teacher ratings or
          exclude certain ratings. You may also select the level of significance desired
          for interpretation as described below.
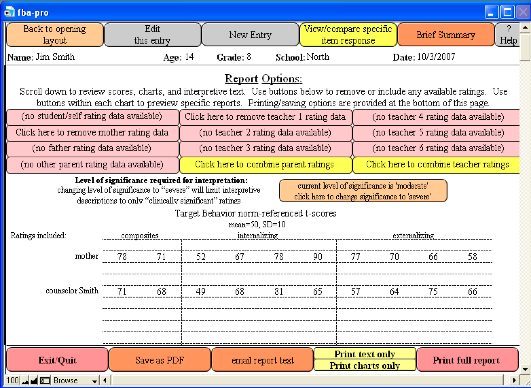


           Report Options:


           The default interpretation is set
          at “moderate” meaning that any rating in the “at risk” or “clinically
          significant” range will be identified as being of relative concern in the
          interpretive text.  If you wish to
          limit interpretive descriptions to only “clinically significant” ratings,
          simply click the level of significance button toward the top of the
          screen.  To return to the default
          setting, simply click the button again.  


           Additional report/interpretation
          options including removing or combining certain ratings can be accomplished by
          clicking appropriate buttons toward the top of the screen.  It is sometimes useful to remove ratings
          which are believed to be invalid and may potentially result in misleading
          interpretations.  In other cases
          you may wish to combine parent and/or teacher ratings in order to view overall
          patterns of concern.  Additionally,
          when more than 6 separate ratings have been entered it is possible that the
          visual charts may not display all rating data if too many ratings fall at the
          same level.  In that case, again it
          may be useful to combine certain ratings.


           If you wish to view patterns of
          responses across ratings in specific areas, click the “View/Compare Specific
          Item Responses” button at the top of the “Report Options” screen.


           Printing Reports:


           Various print/save buttons are
          included in any layout which can be printed (typically at the bottom of the
          page).   If you choose to
          accept the full computer-generated report, simply click the “Print Full Report”
          button at the bottom of the Report Options screen.  Optionally, you have the choice of printing either “Charts
          Only” or “Text Only”.  Although you
          cannot edit the computer-generated report text within the FBA Pro software, you
          can copy and paste the text into an external word processing application and
          edit as needed.  Then you could
          attach your edited text to the printed charts to reflect your own professional
          interpretation of the data.  There
          is also a “Brief Summary” layout (viewed by clicking that button at the top of
          the “Report Options” screen) which may be useful if you wish to copy/paste a
          very brief overview of all findings into a separate evaluation summary report.


           Clicking the chosen print button
          will bring up your normal print screen giving you options such as number of
          copies, which pages to print, etc.  Be sure the page range is set appropriately for the pages you wish to
          print.


           Note:  For best viewing and printing results the Times New Roman
          font should be installed on your computer.
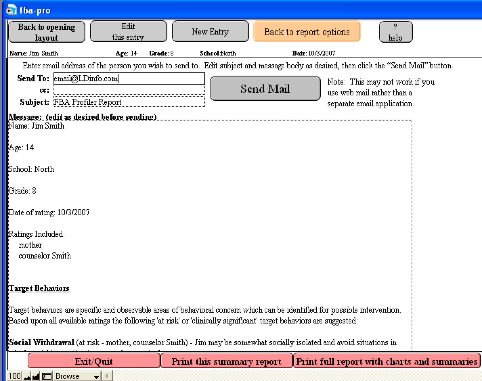


           Saving Reports:


           Sending report text via email is
          accomplished by simply clicking the “Send as Email” button at the bottom of the
          report screen or selecting the appropriate option from the “Scripts” menu.  This option only works if your computer
          is set up with a default email application.  


           In the screen which opens, simply
          enter a valid email address and edit the subject and message body as desired
          before clicking the “Send Mail” button.  After clicking this button a popup message will inform you that the
          message has been placed in the outbox of your email application.  You will then be automatically returned
          to the Report Options screen.
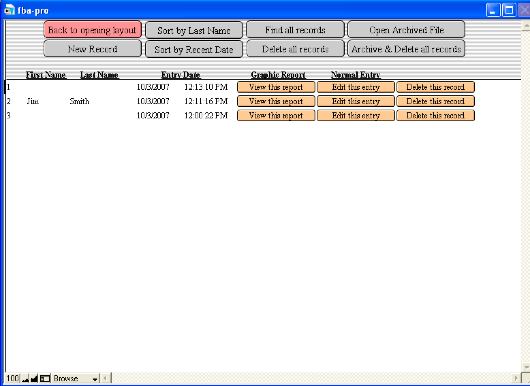


           Deleting Records:


           If you would like to delete any or
          all of the records in your FBA Pro file (possibly to start fresh each school
          year), from the opening screen select the “View List of Records” button.  The screen below will open showing you
          a list of all available records.  From this list you may either delete individual records or select the
          button at the top to delete all records.  


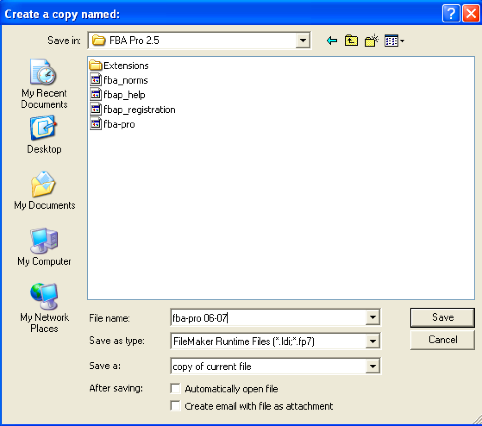
           If you would like to delete all
          records but also save an archived copy of the file (for later review) select
          the “Archive & Delete all records” button.  


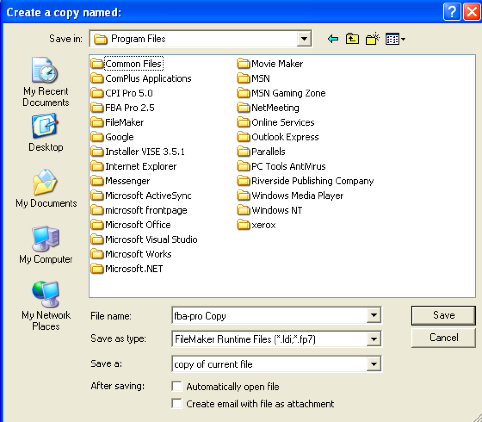
           This option will open a window
          asking you to select a location for saving the copied file.  Be sure to navigate to the FBA Pro
          folder/directory.   This
          location can be found on Windows/PC computers in the Program Files directory
          of  your C Drive (unless you chose
          a different location during installation).  For Macintosh users, the FBA Pro folder/directory is located
          in your Applications folder (unless you chose a different location during
          installation).


           You may also rename the saved file
          as you see fit (perhaps including the year or date saved).


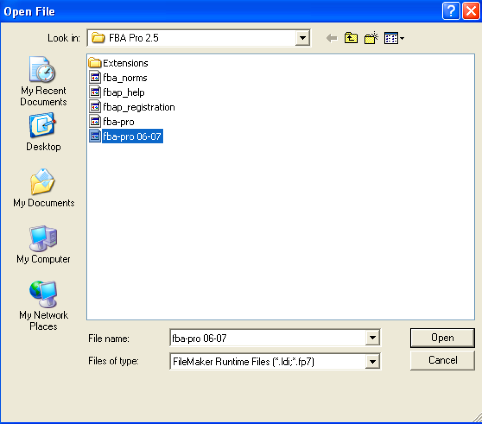
           At a later date when you wish to
          reopen the archived file, simply select that option from the top of the “View
          List of Records” FBA Pro screen and navigate to the FBA Pro folder/directory to
          open the desired file.


           This archived file will open
          directly in front of the current FBA Pro screen and you can navigate from one
          file to the other by using the “Window” menu.  Both files will close when you exit the FBA Pro application.


           Free Trial Period/Registration
          Code:


           All LDinfo software is provided either through entirely online Apps (which work with any internet browser from anywhere) or downloaded applications (compatible with Windows OS, MacOS, or IOS). Initially, these apps or applications are provided a no cost and with sufficient functionality in order for you to fully evaluation their potential usefulness for your particular needs. 
 In order to unlock full professional functionality you would need to purchase a registration code with varying pricing options depending on number of software users and desured length of registration (from 6 months to 3 years). Click here to view pricing options. 
 You may always increase your length of authorized use  by purchasing a new registration
          code (instructions for purchasing this code are provided on the www.LDinfo.com web site) and entering this
          code iwithin the specific LDinfo App or application.


           FBA Pro Forms: During your period
          of authorized use you may view, print, and duplicate any FBA Pro forms which
          you may need.


           There is a button near the top of
          the FBA Pro application main window which will allow you to view and/or print
          FBA Pro rating forms. There are 2 versions of the rating forms, one for parents
          or teachers to complete and the other for subjects to rate themselves (not
          recommended for children younger than age 10).


           You may either print 1 copy of
          each form and then duplicate them as needed or just print new forms as you need
          them. In either case, the printed forms will note the expiration date for you
          to legally print, duplicate, or distribute them (based upon your registration
          status).


           NOTE: During your free trial
          period or after your registration period has expired any printed report will
          bear the designation 'Unauthorized Report, Not for Distribution'.


 | Special Offer - Get the FBA Profiler free for one full year 
 
 |